Every DKC consultant is tasked with creating their own nametag, and since I’ve never used a 3D printer before, I was excited to learn something new.
First I had to get started in Tinkercad, which is one of the softwares the DKC recommends for 3D prints. I found it pretty user-friendly, and I especially appreciated Tinkercad’s getting-started guides. (I would definitely recommend using a mouse when using Tinkercad. My hand was cramping so badly before I borrowed one from our storage.)
In the beginning, I really struggled to think in terms of layers. I was worried about making sure I could have my name a different color than the background and design. It wasn’t until Shannon drew it out on the whiteboard for me that I better understood how to do so.
For my nametag I drew direct inspiration from Angela’s nametag. I really like her pig design, so I decided to incorporate my favorite animal: the giraffe. Originally I was going to make the whole thing in the shape of a giraffe, but I realized that since giraffes are long and skinny there wouldn’t be a lot of room for my name and title.
I Googled “giraffe cartoon” and went to images, which is where I got the idea for two giraffes nuzzling. I also inspected Katy’s and Haley’s nametags to learn what I wanted the backing surface to be. I settled on an oval.
The most difficult part of designing the nametag was the giraffes. Tinkercad works in shapes, and I didn’t like the look of combining a rectangle and oval for the neck and head. I instead used some sort of drawing tool where I could create my own shape. It was hard to draw using my mousepad, but luckily there was a smoothing tool I could use on the lines. After a few tries, I had something that I actually liked and thought looked natural.
After that was out of the way, it was just a matter of adjusting the height of everything and making sure the layers were laying flat on each other. Originally, I used a cylinder shape for the base because I figured, “Oh, I’m working in 3D so I should use a cylinder.” Nope. Katy showed me my mistake and I changed it to a circle so that the giraffes, heart, and lettering could lay flat on its surface.
It was surprisingly frustrating to get the giraffe shape to lie flat on the circle, the spots to lie flat on the giraffe, etc. I kept thinking I was okay, and then I’d rotate the screen and see that the letters were actually hovering in the air above the backing.
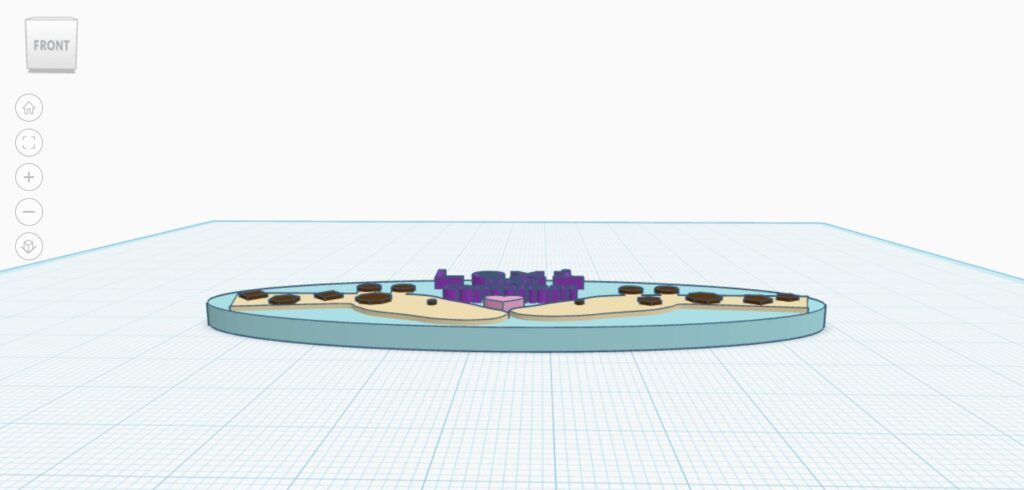
I have some pictures below of what my nametag looks like in Tinkercad!


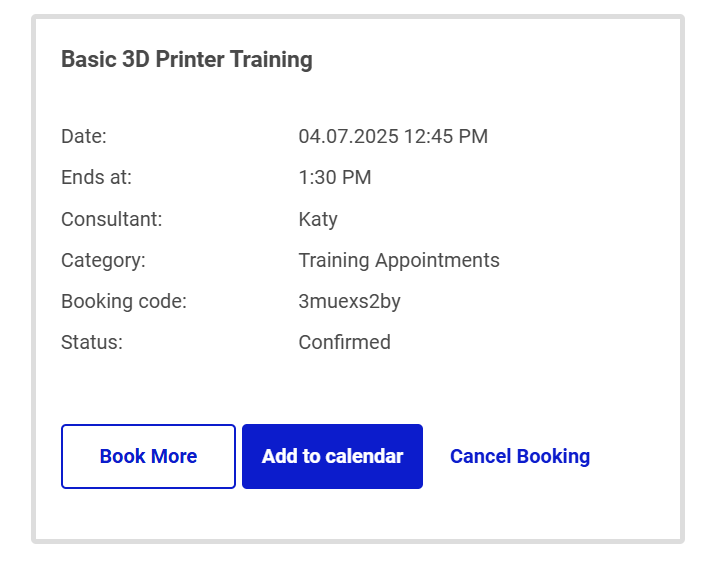
Next I had to get trained on the 3D printer. I probably should have gotten the training before I started designing so I would have had a better idea of how the machine works, but oh well. I booked a training appointment with Katy for a Monday at 12:45, so I just came into my shift 15 minutes early.
I had gotten a brief overview of the 3D printer during my orientation right before the start of the semester, but I had totally forgotten everything. It was nice to get a refresher and then a better rundown of the Prusa slicer software. I got to print a test-run Edmund!! Here he is below. I think I’ll give him to my sister when I go home for Easter.


Yes, part of his left foot and the back of his tail are black. Someone had been using black filament before me, so there must’ve been some still stuck in the nozzle. I thought we had cleaned it out pretty good when loading the pink filament, but I guess not…. It’s kind of strange that the black showed up in those areas and not the very first layer, but it’s okay.
Time to print my nametag now! The 3D printer is a very popular machine–I had to book a week out from my training appointment! The first of several snags that I ran into was that the computer I used wouldn’t connect to the ethernet, so I decided to just hop one computer over. Except that computer didn’t have the Prusa slicer application…. Shannon was able to get it downloaded pretty quickly, but I was starting to get a little nervous because I only had a two hour timeslot to print.
Once I conquered the technical difficulties, it was time for Prusa difficulties. Katy generously showed me how to add stops in the print for a color change, and it took me a surprisingly long time to get it the way I wanted it. Then it was a matter of sizing the print correctly. Using Haley’s nametag for reference, I decided I wanted it to be about 3.5in x 1.5in. The height was another beast altogether, and I settled on 6mm.
But wait a second… why do the “t”s in the word “consultant” look weird all of a sudden? Turns out, with the font I used on Tinkercad and the size of my nametag, the top of the the letter “t” is thinner than the nozzle, so it can’t print it fully. Ultimately I went the lazy route and decided it was still readable and therefore fine.
After exporting to an SD card, I was ready to print! I could tell throughout the printing process that something wasn’t quite right, but I thought you just had to have faith in the process. I was wrong.
After 42 minutes, I finally had this:


Yikes…
I am not at all happy with the way it turned out. The words are too small to read, the eyes on the giraffes are too small, there’s a lot of globbing of the filament all over, and the nametag in general is too thin and too short.
You know what that means–back to Tinkercad! *sigh*
I will keep you updated as I try to fix this mess.
Leave a Reply